Create your Website - Security
This post is part of the PowerPages series.
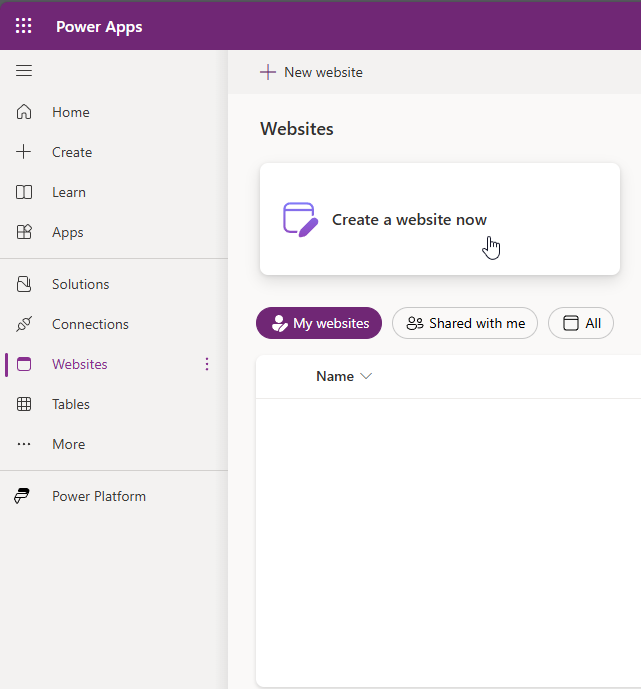
The easiest way to create a new Power Pages website in your environment is either from the Maker Portal to select Websites in the navigation bar
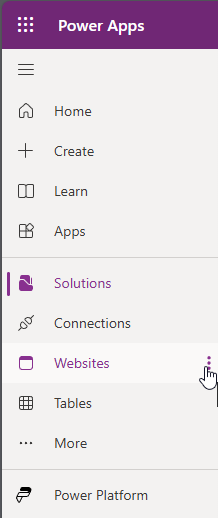 (if Websites is not yet visible, you have to click on More… first) and Create a website now
 or you can open the Power Pages Design Studio directly by entering https://make.powerpages.microsoft.com/
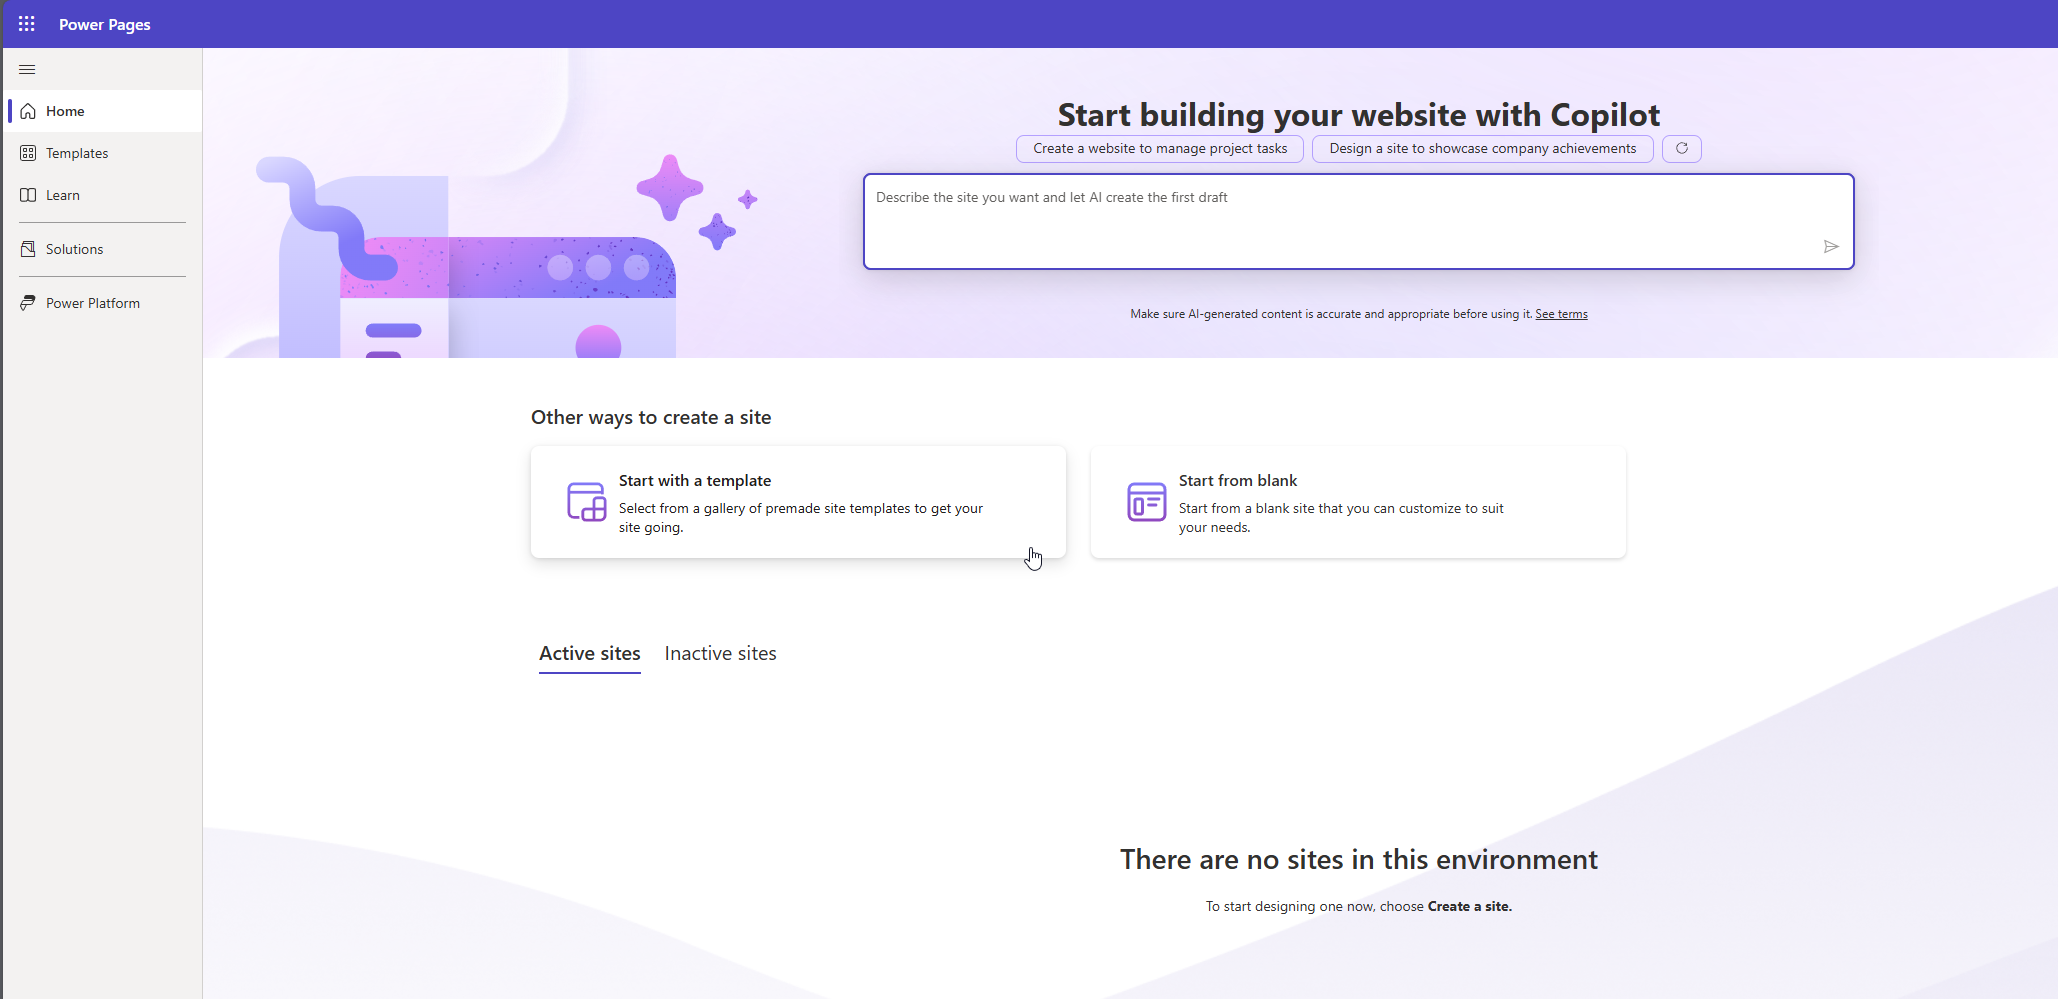
- Select if you want to start from blank or with a template, or you can also start by using Copilot to create website content. We will have a look at the Copilot functionality in another post, as well as the template option. At the moment I just want to start with a blank website and have a first look.
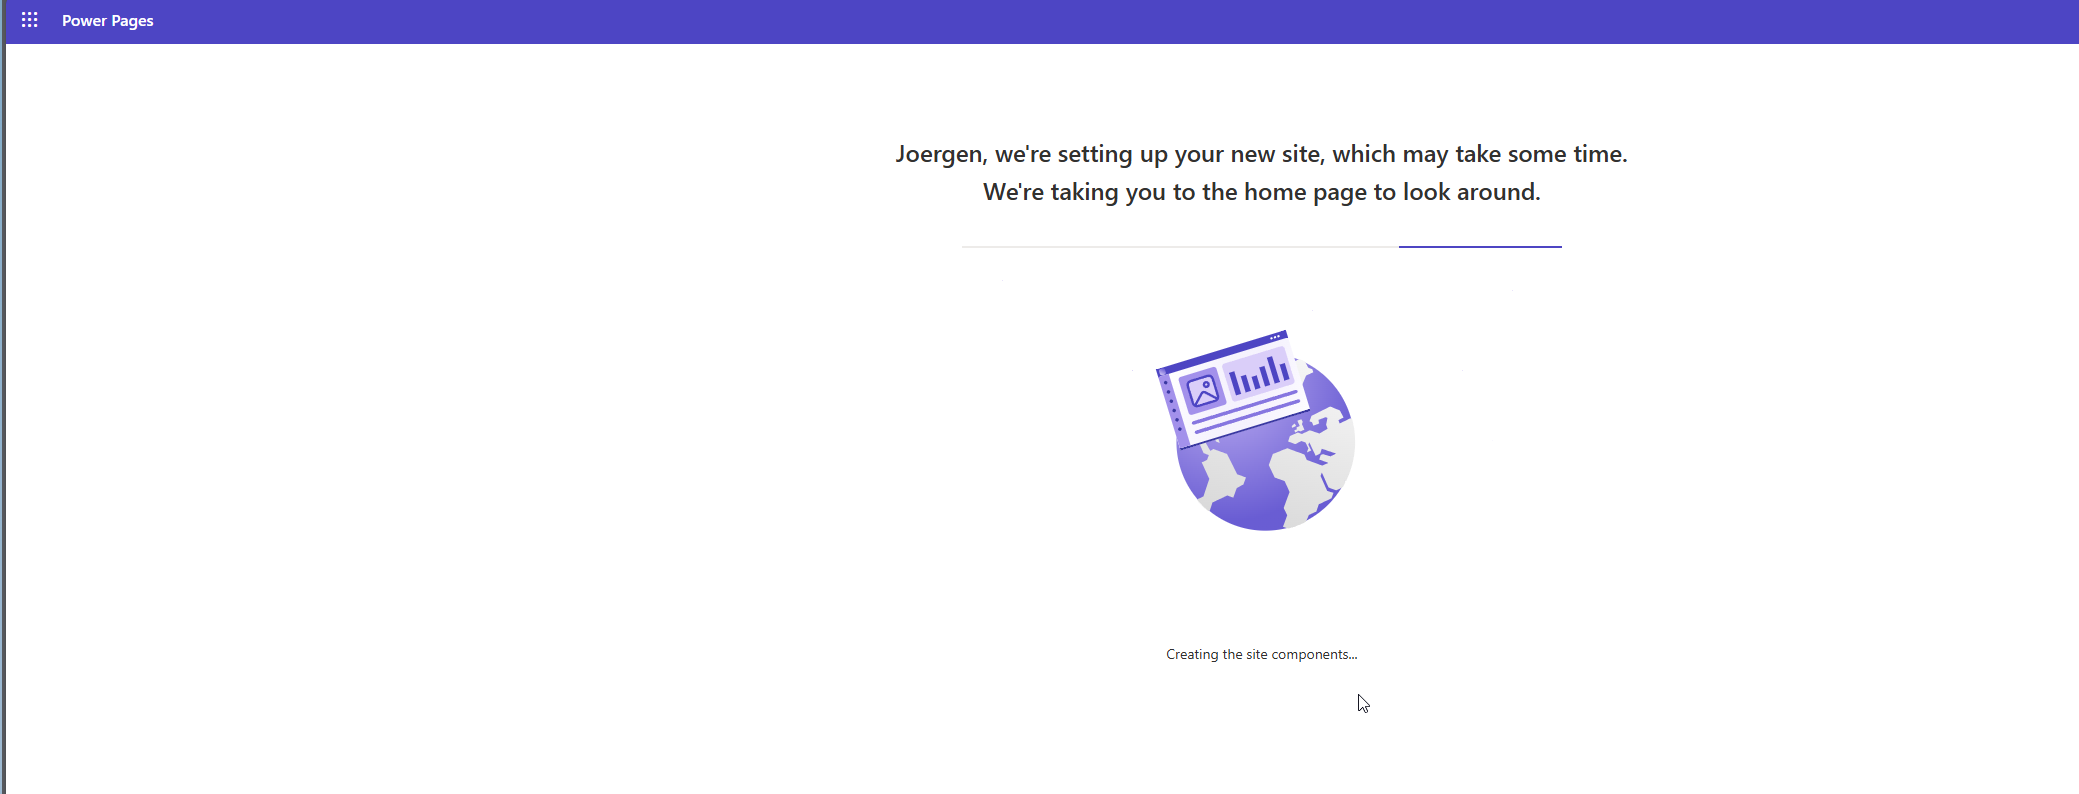
Once you have selected Start from blank it will take some minutes to provision the new website to your environment.
Did you know, that you have up to 3 dev websites per development environment? You cannot convert these to a production website, as this is on a development environment, but differently to the trial websites that you can create in other environments, the developer website will not expire after 30 days.
- Once the process is finished, the newly created website is opened in the Power Pages Designer Studio:
“Backend Security”
- Before you start with anything else, I would recommend to have a look at the security settings in the main navigation bar, to make sure, that even in your dev environment everything is set up, that no data can be exposed. To achieve this, there are several options that should be verified or activated.
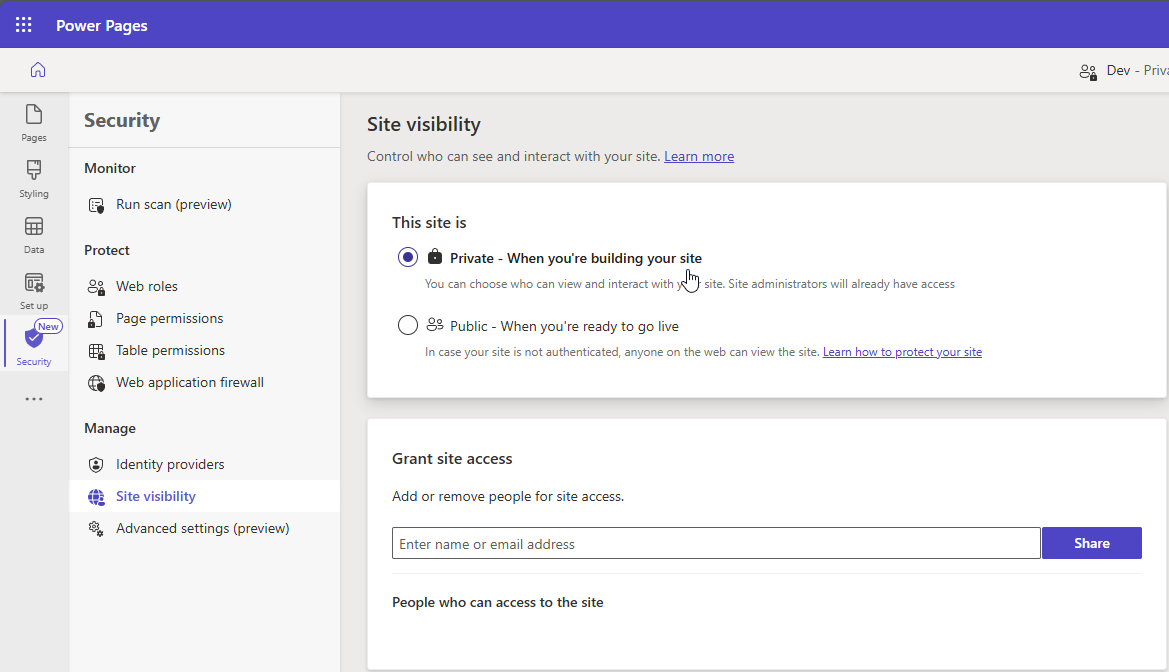
- First, make sure that the site visibility is set to private. This is the default setting and should remain during development in all environments, and you only want to change this to public, once the Power Pages website has been deployed to production environment.
All site administrators will have access to the website and also people that you have granted access. This must be done for every environment and for each user separately and there is a limit of users that can be granted access to private websites.
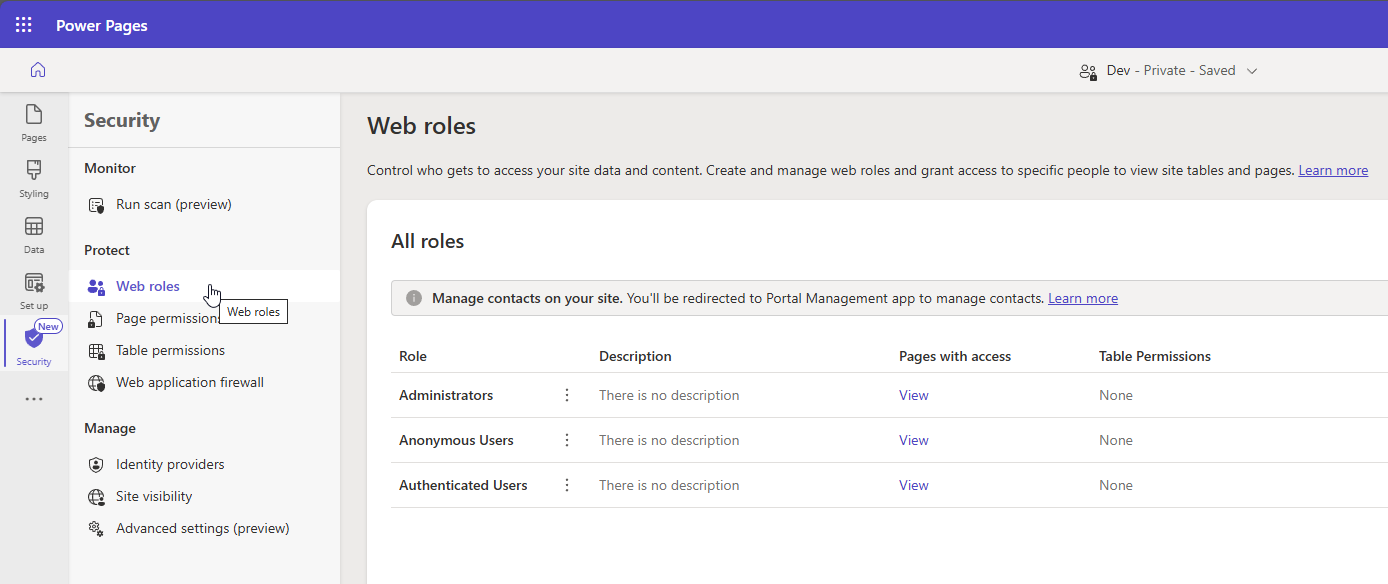
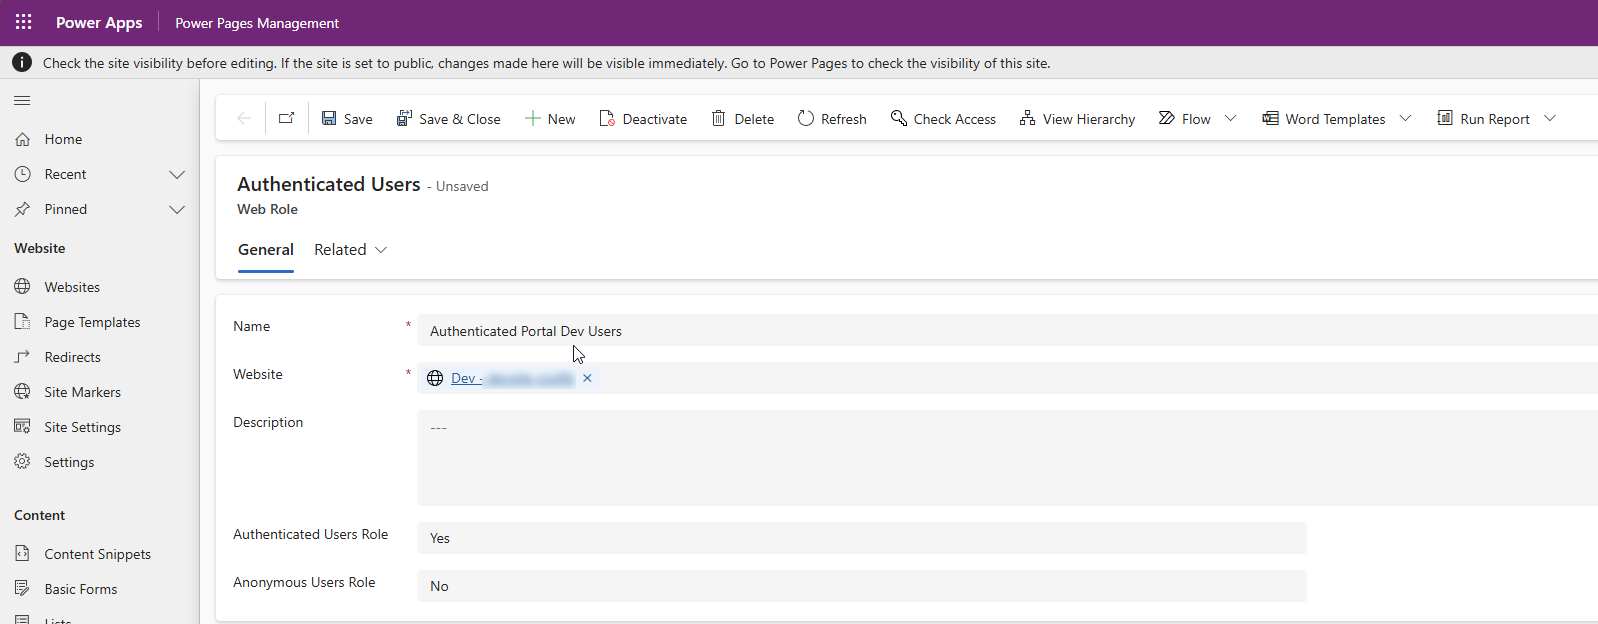
- Second, I would recommend to rename the base roles to be portal specific. The Web role names are always the same, and if you have different portals in the same environment, you want to make sure, that you have assigned the correct roles to the contacts.
- Third, have a look at the Identity providers. In the past the local access has been the default one and the local access is still activated by default. Nevertheless, the preferred and recommended setting is to deactivate the local sign-in option and only use Azure Entra ID (AAD) or any other identity provider that you need.
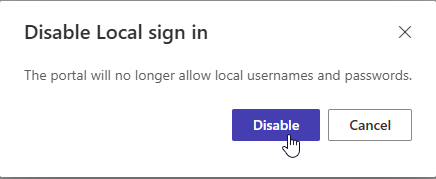
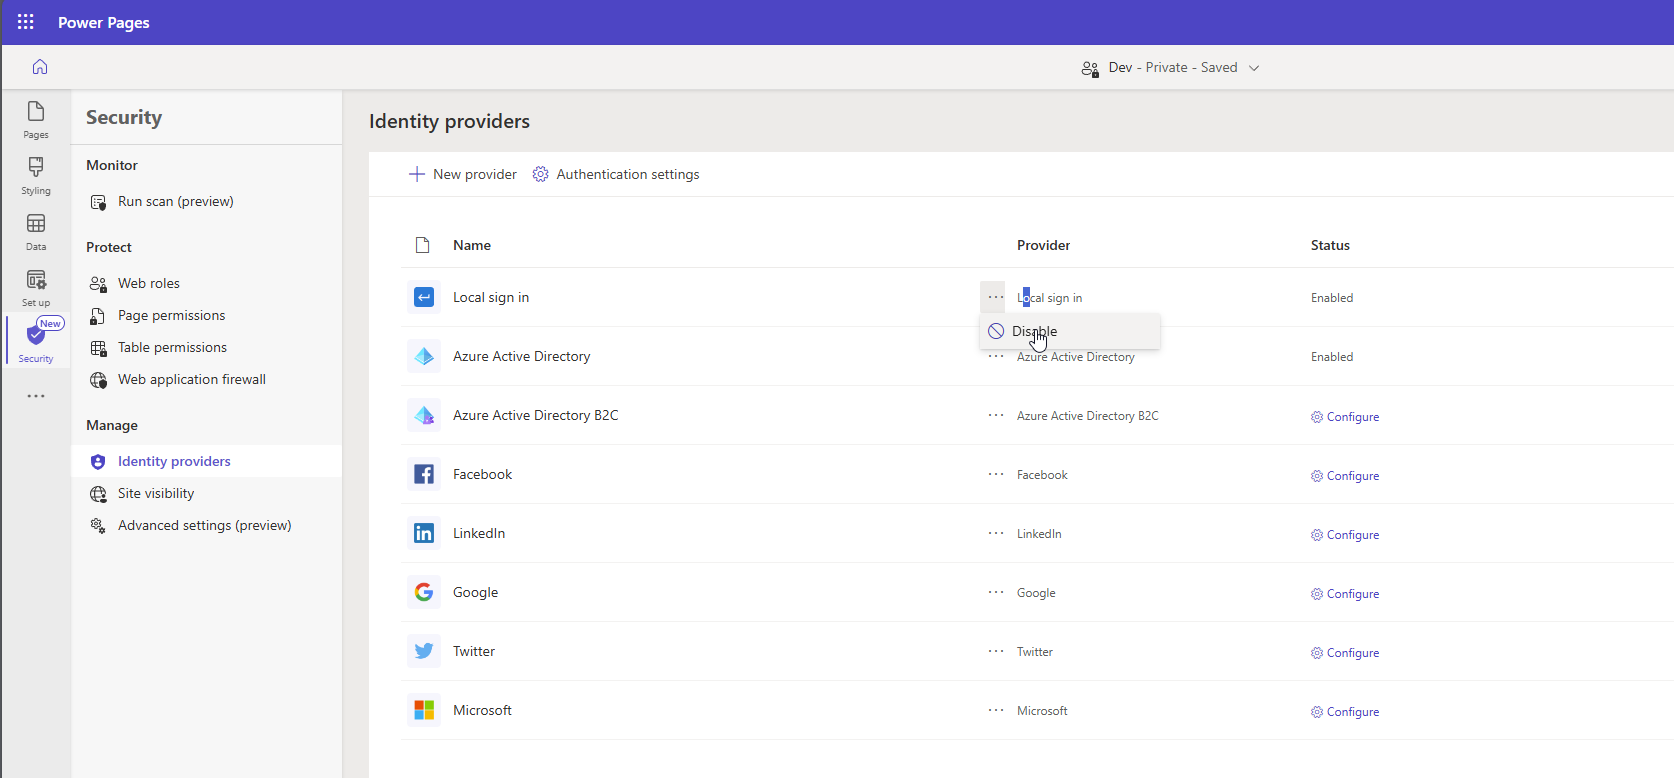 When you select the deactivate option, you have to confirm this in a separate dialog.
 But that’s not all. As you are already in the Identity providers section, click on Authentication settings
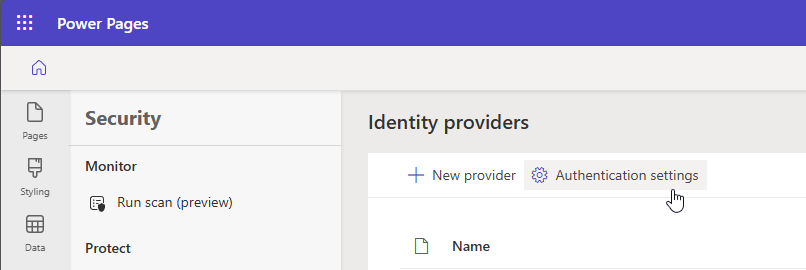 above the list of identity providers. On the right, you can now switch 3 options:
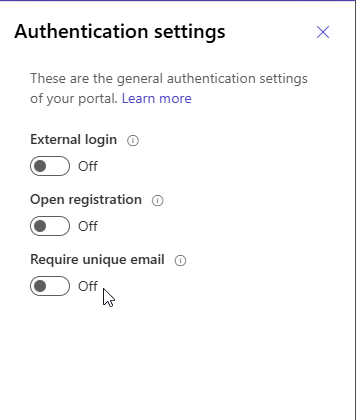 I would recommend to deactivate all 3 settings initially, and leave the first 2 options deactivated. With the third one, Require unique email you must verify if this is a match for your business requirements and if all portal users who will register have a unique email.
Click on save to apply the settings.
I would recommend to deactivate all 3 settings initially, and leave the first 2 options deactivated. With the third one, Require unique email you must verify if this is a match for your business requirements and if all portal users who will register have a unique email.
Click on save to apply the settings.
“Frontend Security”
Before we start setting up the “frontend security”, you should think about the purpose of your Power Page. If you are using the Power Page e.g. for your Customers, Partners or your internal users, you may not want that anyone can access the content without your approval. And you may also not have a landing page for anonymous users. Therefore, in this case best will be to set the correct permissions already on the Homepage.
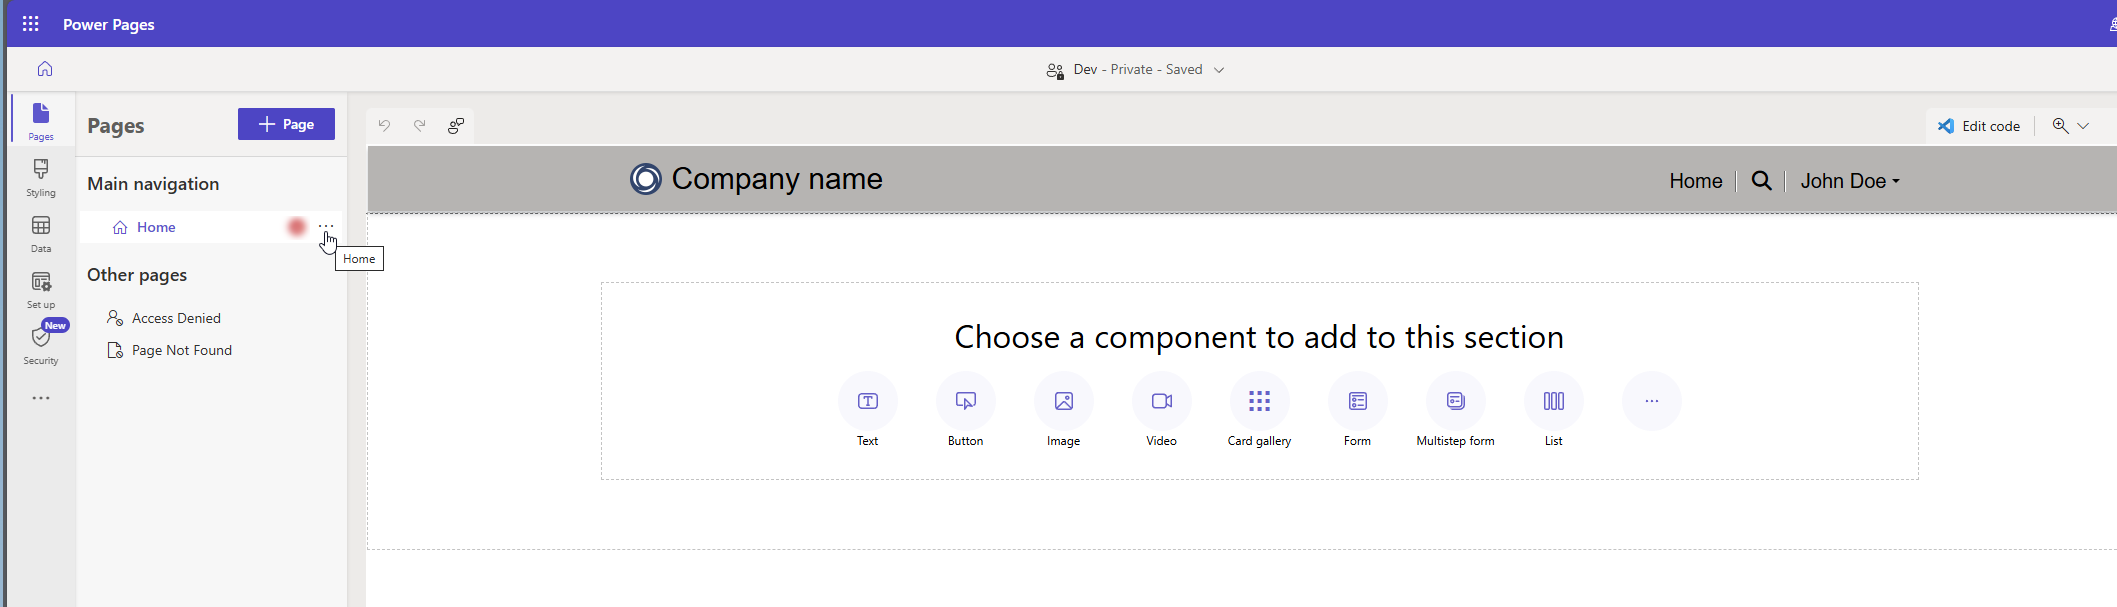
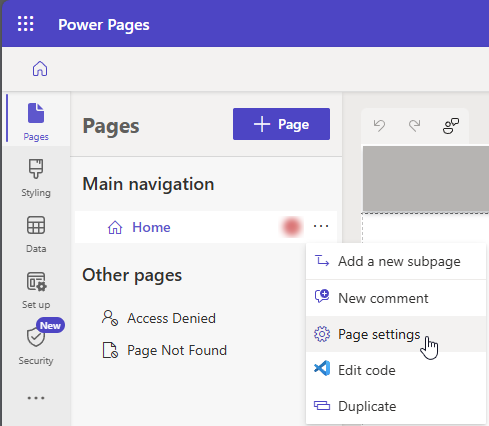
- Open the Power Pages Design Studio and navigate to Pages. Click on the 3 dots next to Home in the Main navigation and select Page settings in the drop down menu.
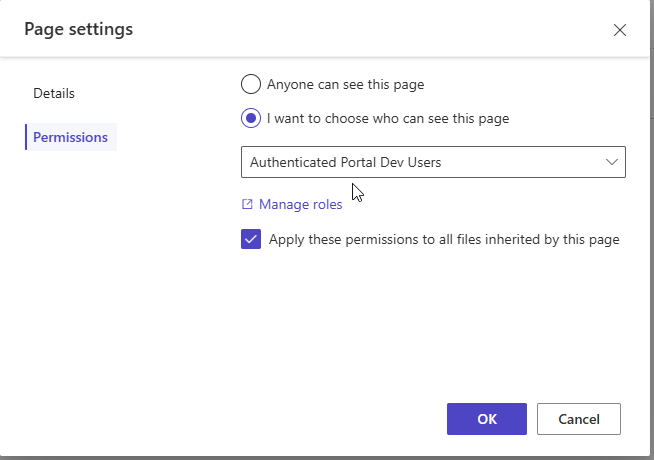
 Switch to the Permissions tab and select I want to choose who can see this page and define the Web Role that is necessary to see the Page. If this setting is valid for all other pages as well, also avtivate the checkbox Apply these settings to all files inherited by this page anc lick OK
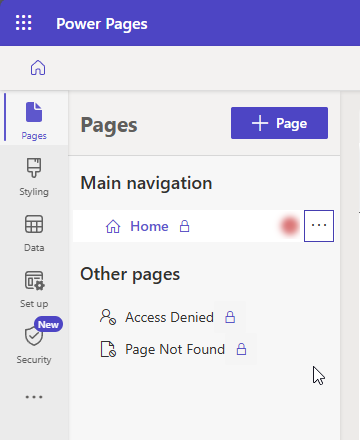
 Back in the main page, next to the pages you will now see a lock symbot, which indicates, that you have set up page permissions.
How to manage visibility of dataverse records on the website will be covered in the next post, when we will also create additoinal pages to display datavewrse views and forms in Power Pages
All parts of this series (2)
- 1. Create your Website - Security
About CRM and Beyond
Jörgen Schladot

Solution Architect
Dynamics 365 CE & Power Platform
@ Avanade Deutschland GmbH
How to connect


Recent Posts
Tags
 azure
azure
 copilot
 dataverse
 dynamics365
Archives